Navistream Installation Guide
NaviLink Hardware set-up
GENTLY insert the ECM cable connector into the NaviLink device with the pins aligned and at a straight angle.

When fully inserted, the latch will lock.

Note: Rough or improper handling can lead to damage and is not covered by warranty.
DO NOT pair the NaviLink to Bluetooth with any device (i.e. your phone). Navistream will automatically establish the connection.
TURN OFF the vehicle.
PLUG the cable attached to the Navilink into the applicable vehicle port.


Port location is vehicle dependent. The port is typically found in one of the locations shown below:

Note: ALWAYS use the vehicle's dedicated RP1226 Telematics/ELD port when available. This port is present in most vehicles year 2020 or greater. For more information, please contact our Support Desk.

VERIFY a slow flashing green LED appears indicating that the device is powered. Also verify a flashing orange LED appears indicating that the internal GPS is in acquisition mode.
Note: a solid orange LED indicates that the signal is locked, but you can proceed to the next step without waiting for GPS lock.
TURN ON the vehicle's engine.
VERIFY that the green LED becomes solid.
Note: For power management reasons, the LEDs may not stay on all the time.
TURN OFF the vehicle's engine.
SAFETY WARNING:
Securely fasten the NaviLink and cable away from the driver and vehicle controls so that it in no way interferes with the vehicle's operation.
Navistream Software Set-up
Turn on the Navistream tablet and allow Navistream to load. Please ensure that the tablet is at the login screen.
Touch/press the “Hamburger Button” in the top right-hand corner of the screen.

Note: If this button is not available Touch/Press the tablet's 'Home' button 7 times in rapid succession.
If nothing happens, try pressing the button faster!
Touch the “Support Menu” option.

Touch ‘Install’ on the ‘Support Menu’ screen.

Touch 'New Install', then 'NaviLink3'.

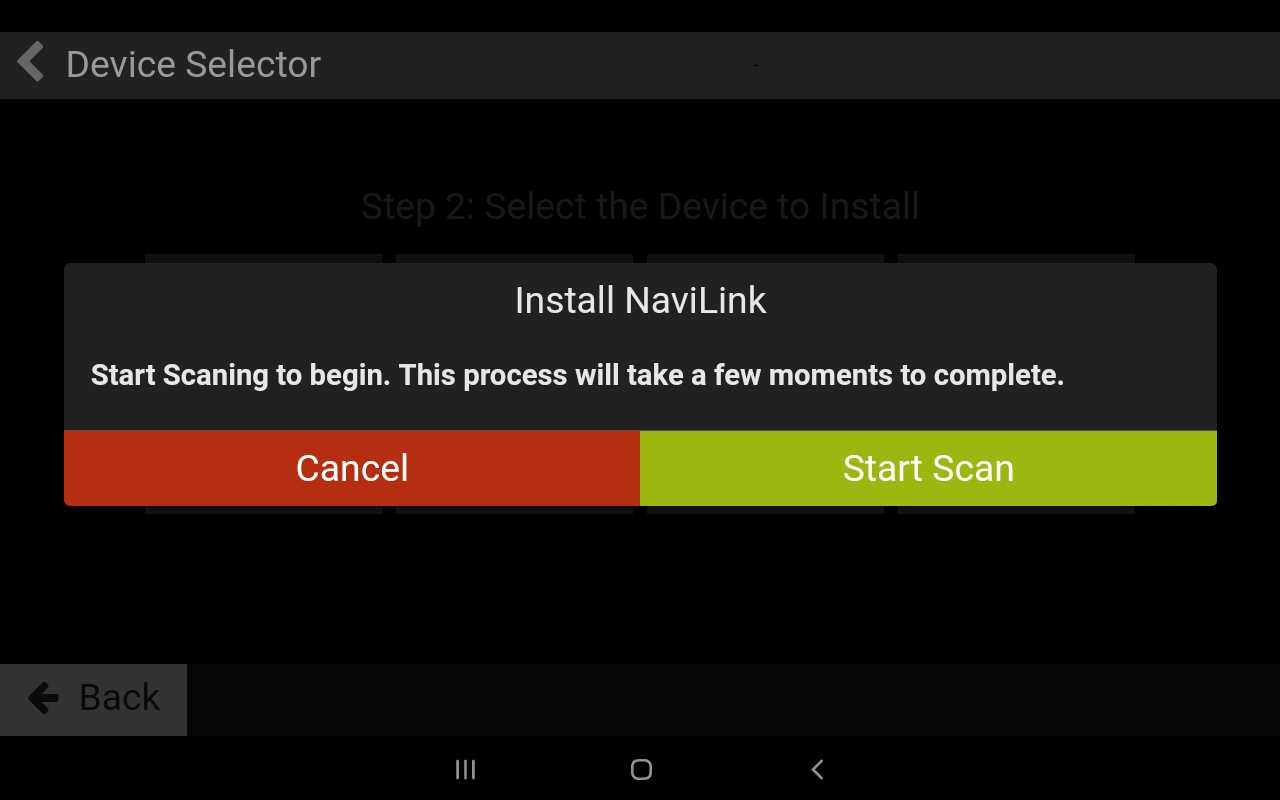
Touch ‘Start Scan’
Note: In the event that there is no power being supplied to the Navilink, the following banner will be displayed.

Please ensure the Navilink is getting power, as indicated by lights on the Navilink, and continue from Step 5.
Wait about 1 minute for all available devices to show up, then select the entry that matches the VIN number of the vehicle you’re in.

Press Confirm
Select your vehicle from the list provided

Note: If you’re unable to find your vehicle in the list, try using the search bar! If your vehicle hasn’t been created in the system yet, have your administrator create the vehicle or call our Support Desk for assistance.
Press Confirm
Hit the Back button until you’re back at the Login Screen.
Congratulations! You have successfully paired your NaviLink and are now able to log in on your tablet.